Witthues Loerrach
Starting Point
One of the first websites that I completely built on my own was the one of my mother’s little store. When she took over an existing store from the previous owner, the branding and presence was slowly changed, and the old website was so out of date it was not usable, so I offered my support building a new one.
Requirements
It was clear from the beginning that the average customers are not technically proficient, nor do they require any features or use the website often. That’s why the website should be rather simple, intuitive, and not have too much content. The goal was to show the essential facts like address with a map, opening hours, and contact information as well as some images and impressions from the store. That lets previous customers know they found the right page and introduces new visitors to what the store and its products look like.
Design
The design of the page should fit the presence of the store which is small, uses a clean black-and-white palette and a special font to present the brand. The logo has sharp edges and clean cuts. This branding and style should be conveyed by the new website. After having the requirements down and some first design sketches, I was looking for the right technical setup to help me build it.
Iteration One
I had some previous experience with many different website builders and Wordpress plugins, but I was sure I wanted to code something on my own. I had also seen a few different javascript frameworks like Angular or React, but since the page would be a rather simple one-pager with not a lot of content, I wanted to experiment with something new and different. After some research, my choice fell on Vue3 as the framework, and I began to code the new page.
After some time, I landed on this design:
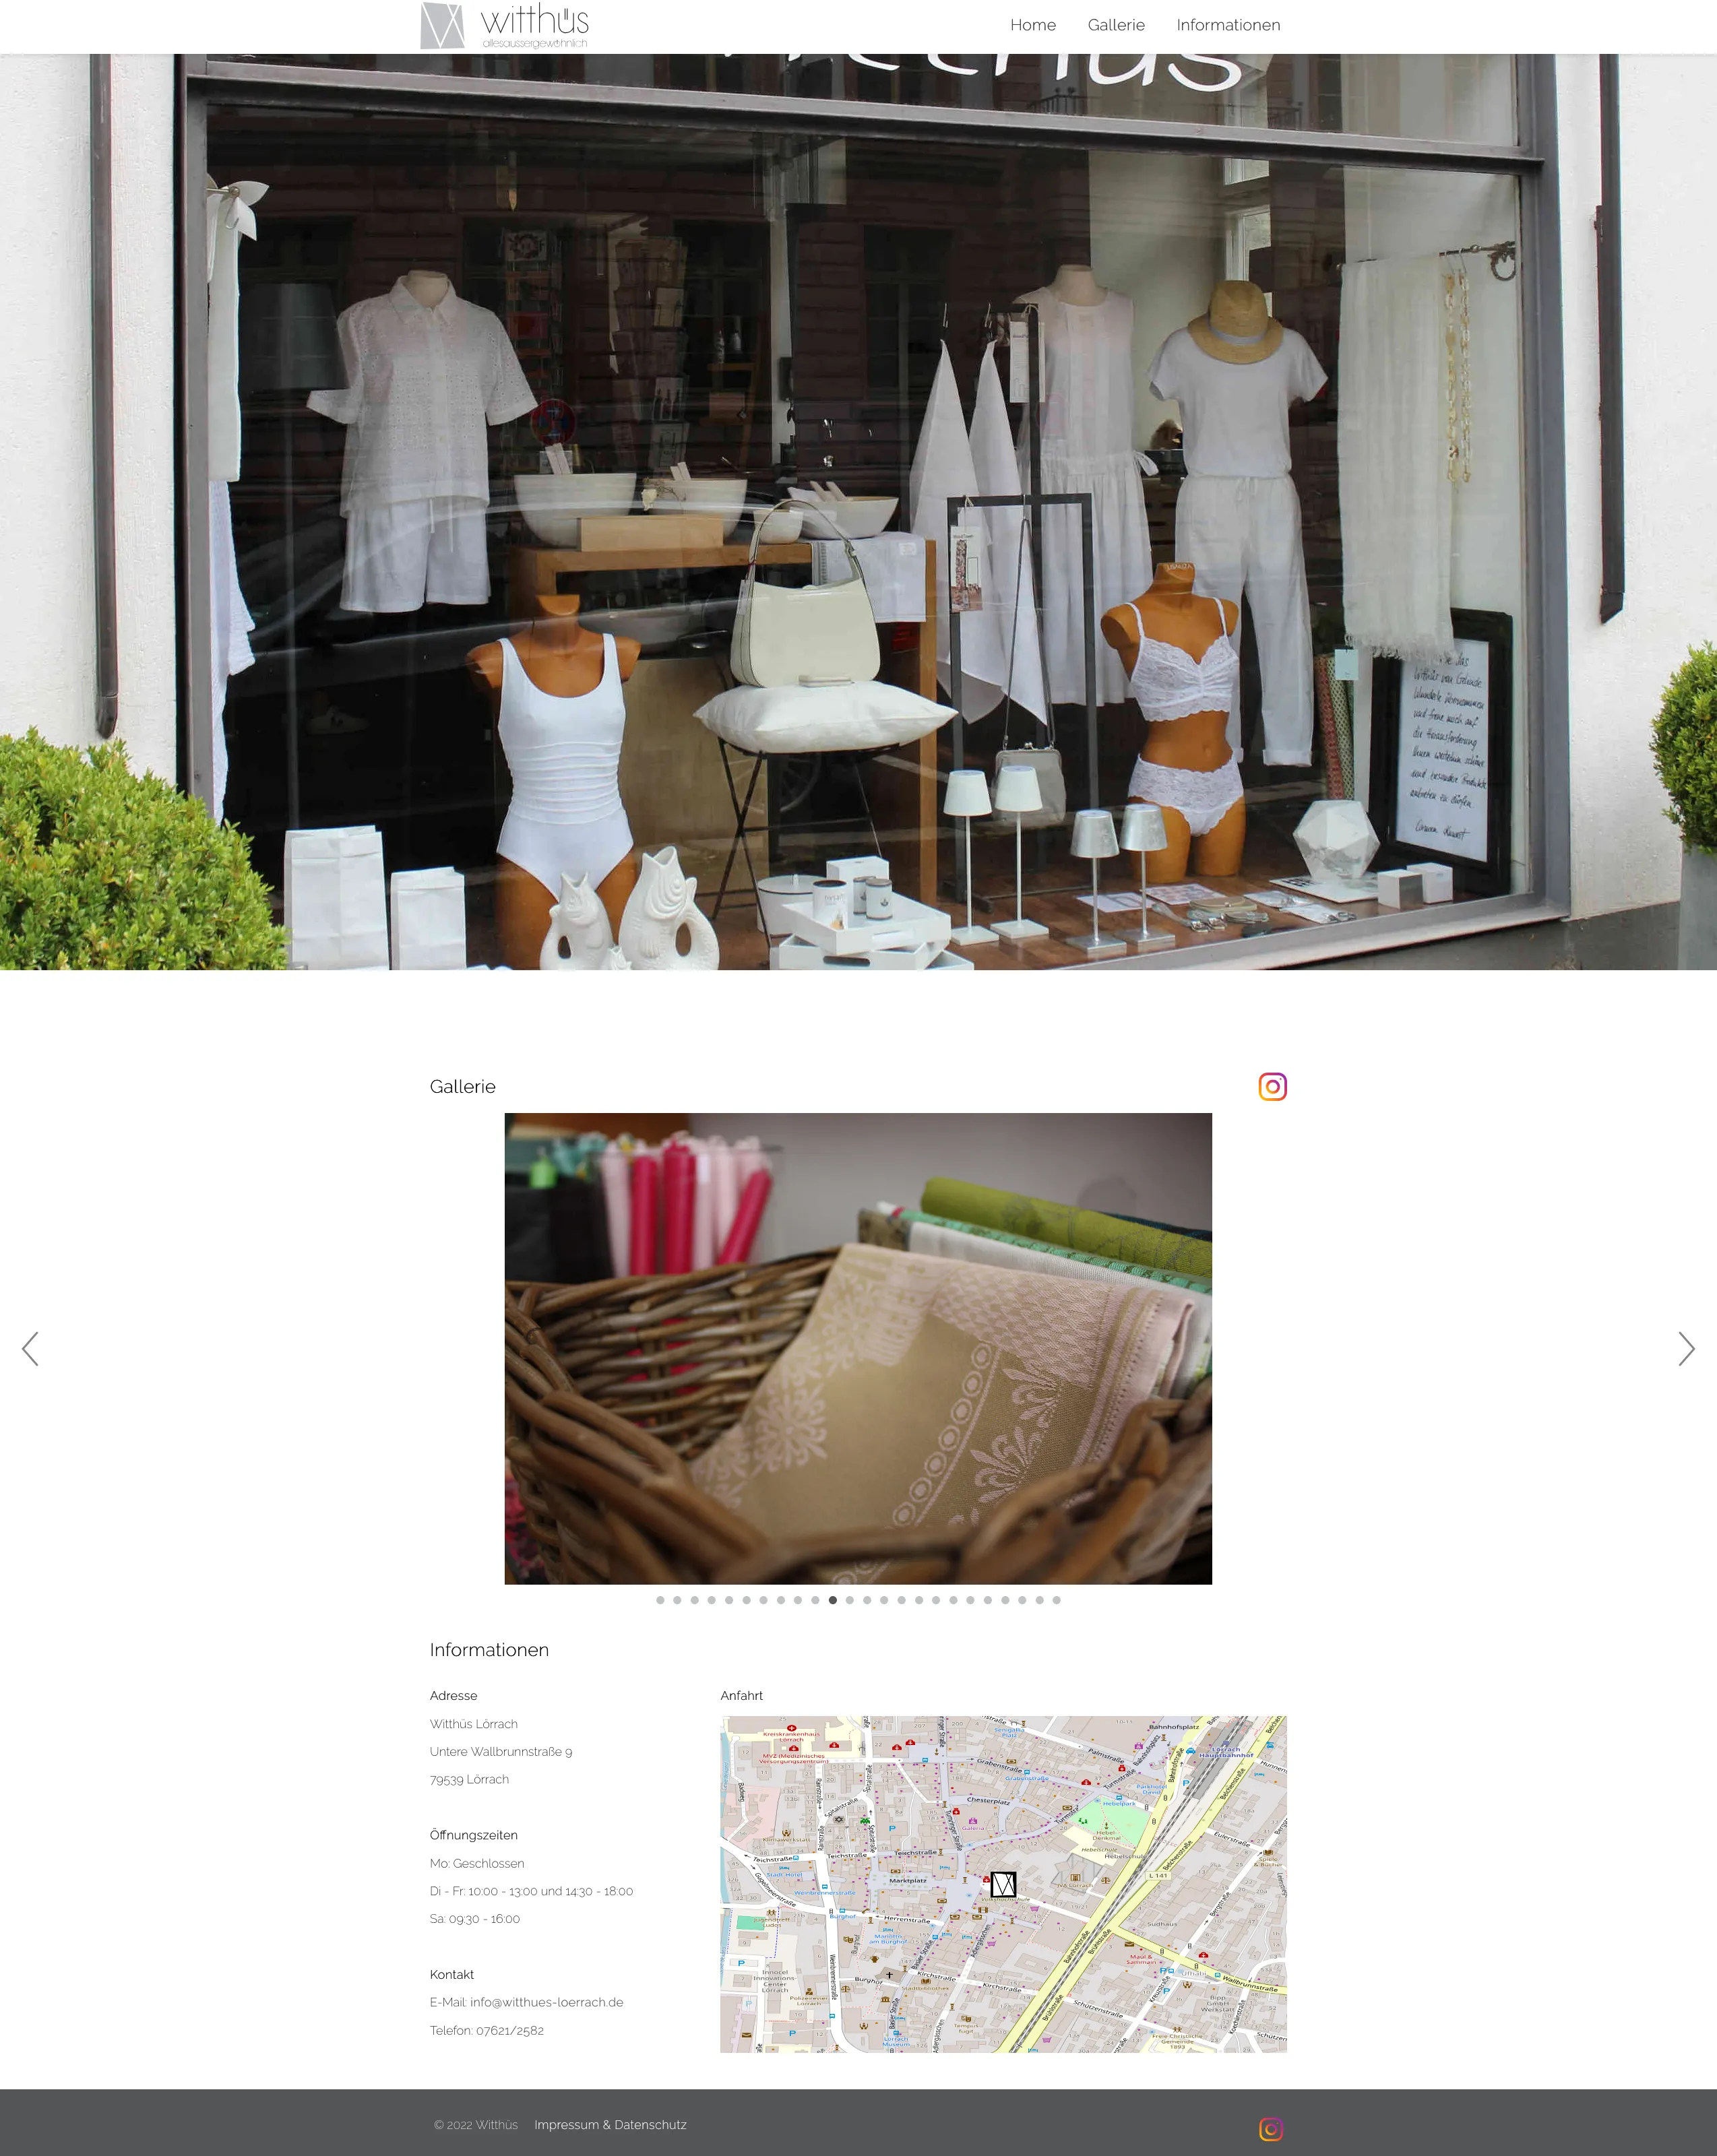 It was definitely not the prettiest, but it worked. Simple three section design, scroll and navigation animations and the gallery would automatically scroll through the images as well. I also used open source maps to display the location of the store.
Tech Stack
Framework and main tools:
- Vue 3
- Vue Router 4
- Vite 2
- Sass/SCSS
Plugins and Libraries:
- vueperslides (image gallery carousel)
- vue-toastification (announcement toasts)
- animate.css (menu/interaction animations)
- vue3-openlayers (OpenLayers integration)
- OpenStreetMap tile source (via OpenLayers components)
Changed Requirements
However each time a new picture should be posted or something else should change, I manually needed to add the picture downsize it and convert it into a web-friendly format to keep the page performant which was not an efficient workflow. After some time there was also the need to communicate changing opening hours in case of sickness or visits to trade fairs for example. Doing any change required a full rebuild as well as manual FTP syncing with the host server. These problems led to me thinking about a new approach to the page. It should be easy to change something without needing to rebuild the entire app. It was clear the current setup was too complex for the task, so I decided to try a different approach.
Second Try
This time I wanted to keep things simple. As simple as possible. I asked a good friend of mine who studied with me for some advice. He was a big fan of deno at the time and suggested using their static site generator Lume. Shoutout to Niklas for a lot of great tips and support over the years. Check out his homepage if you like. Lume was a good fit for the desired simple and fast setup. It also had almost no overhead like a full web framework behind it. I am aware that there are some vue compatible/based static site generators, but I was looking for something different.
The New Tech Stack
- Deno (Runtime/tooling)
- Lume (static site generator)
- nunjucks (Templating language)
- Tailwind + PostCss (styling)
- Javascript (for some basic functionality in the templates)
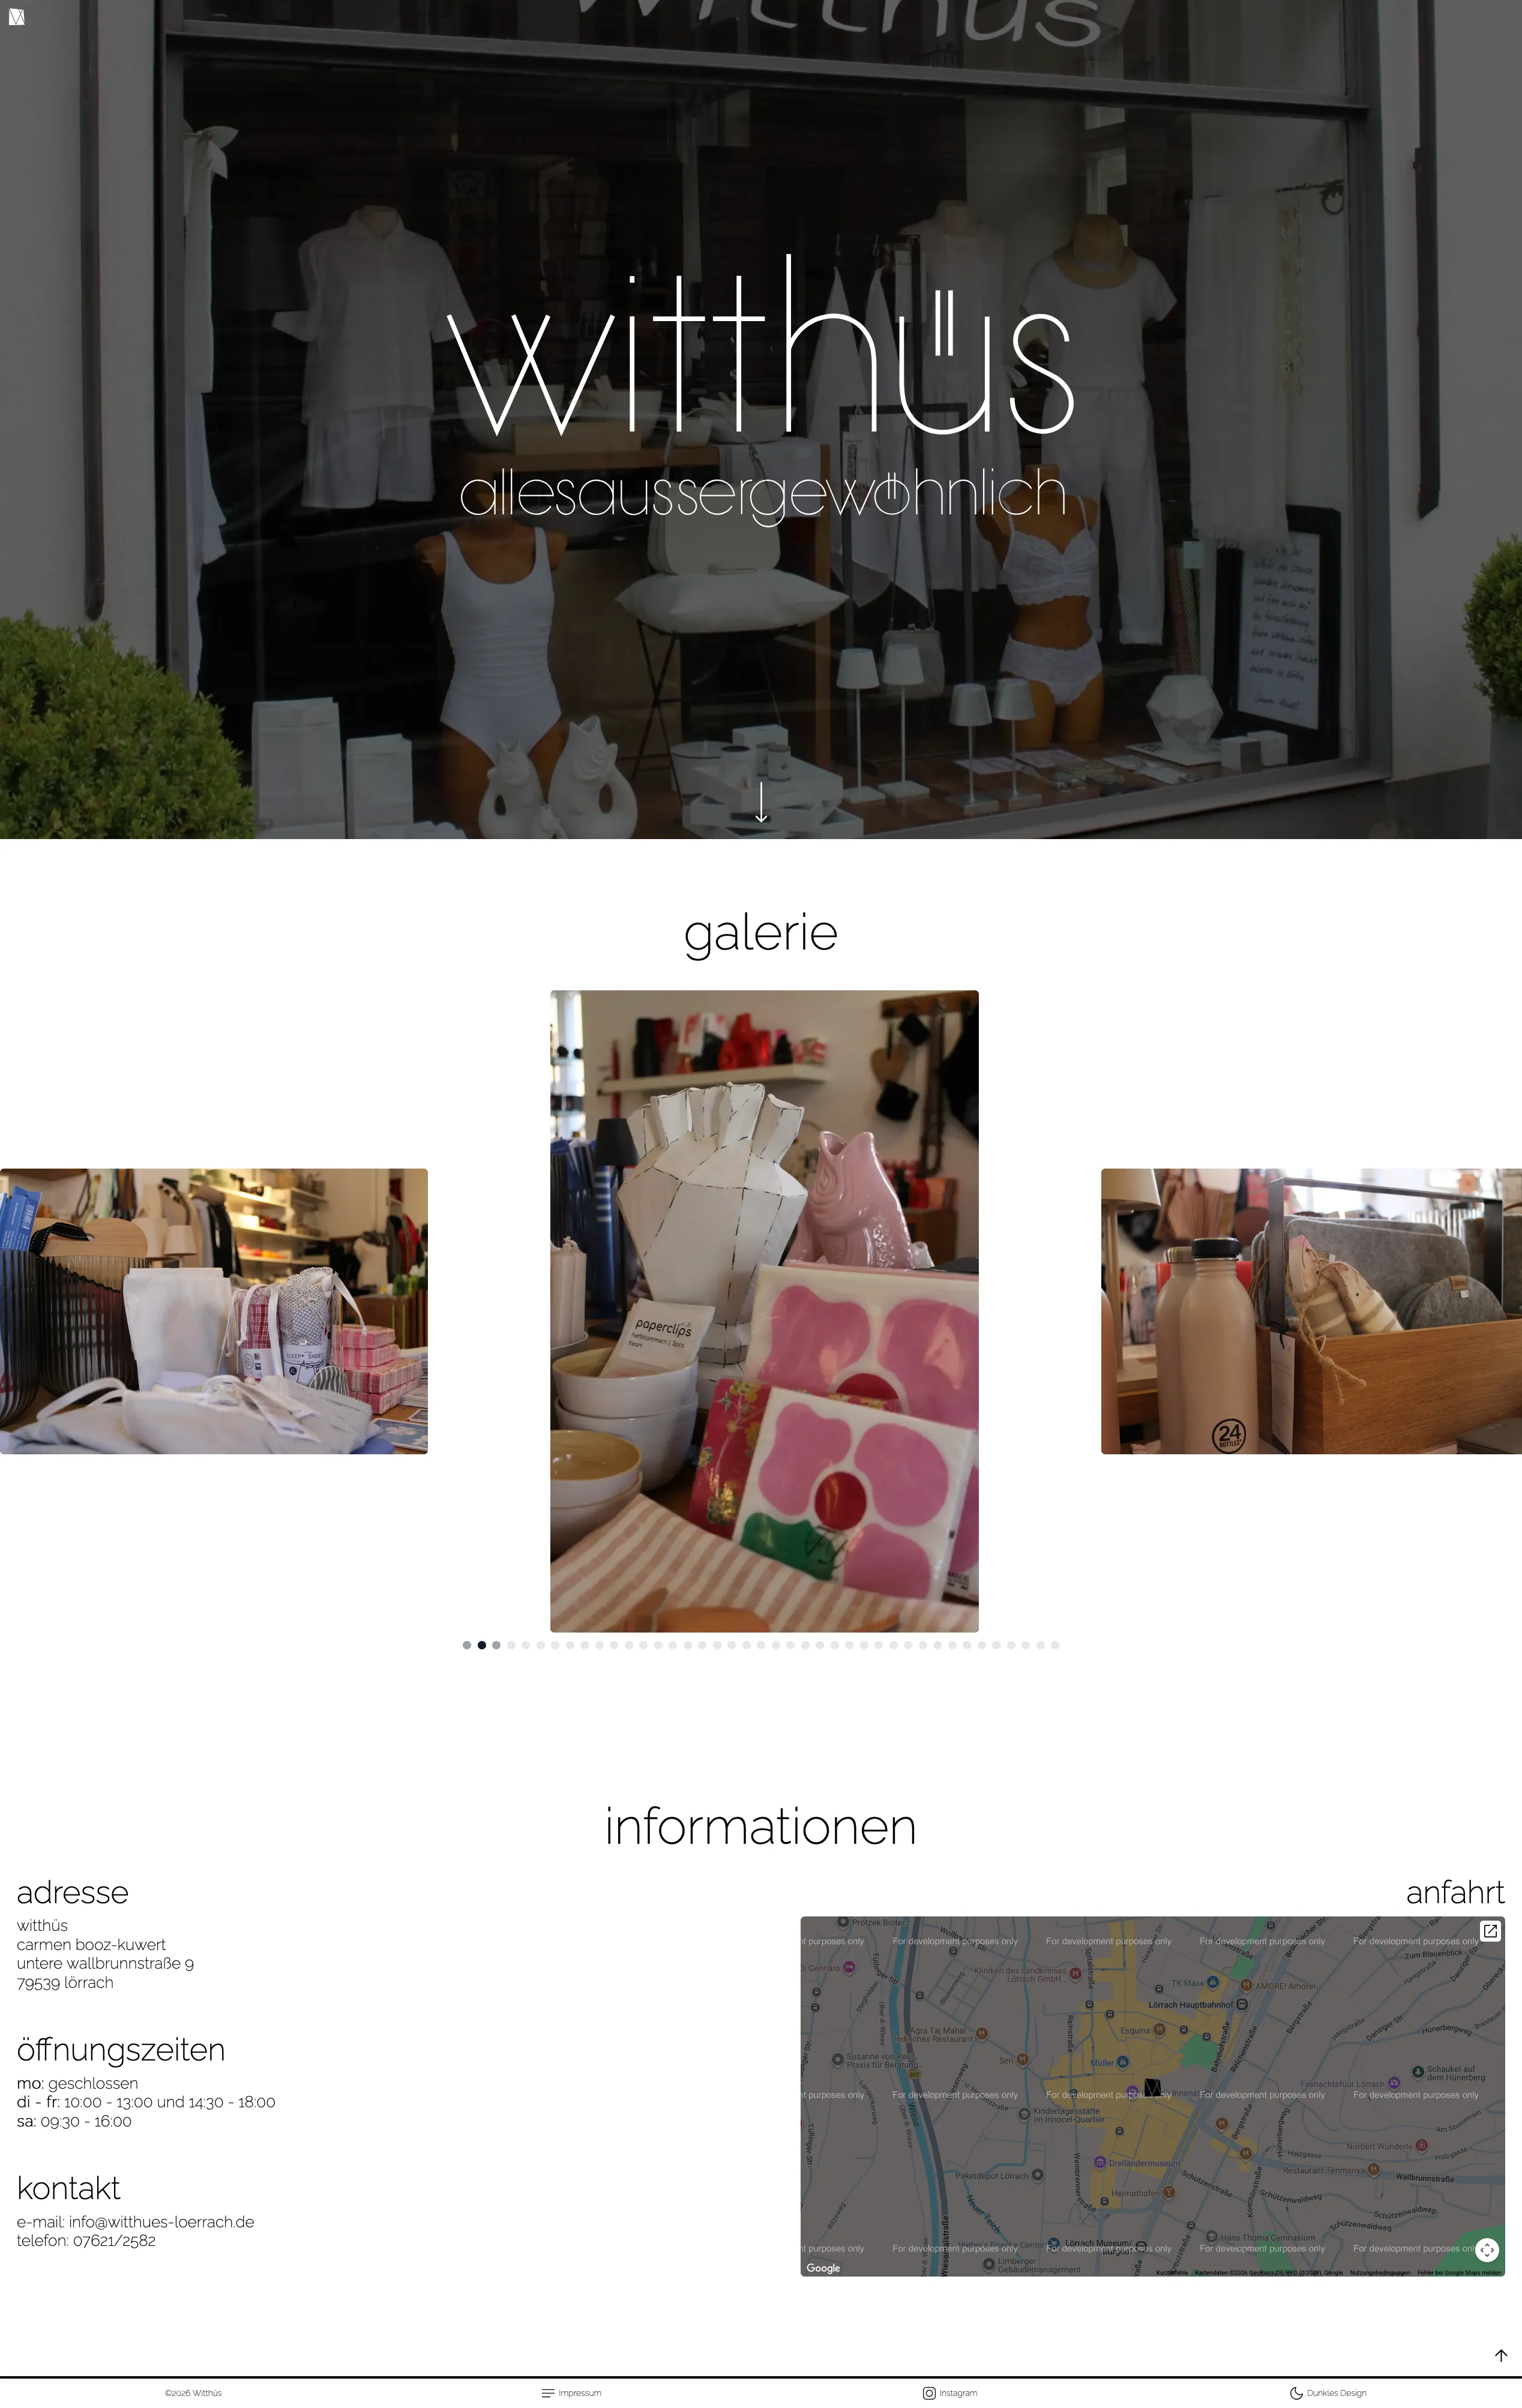
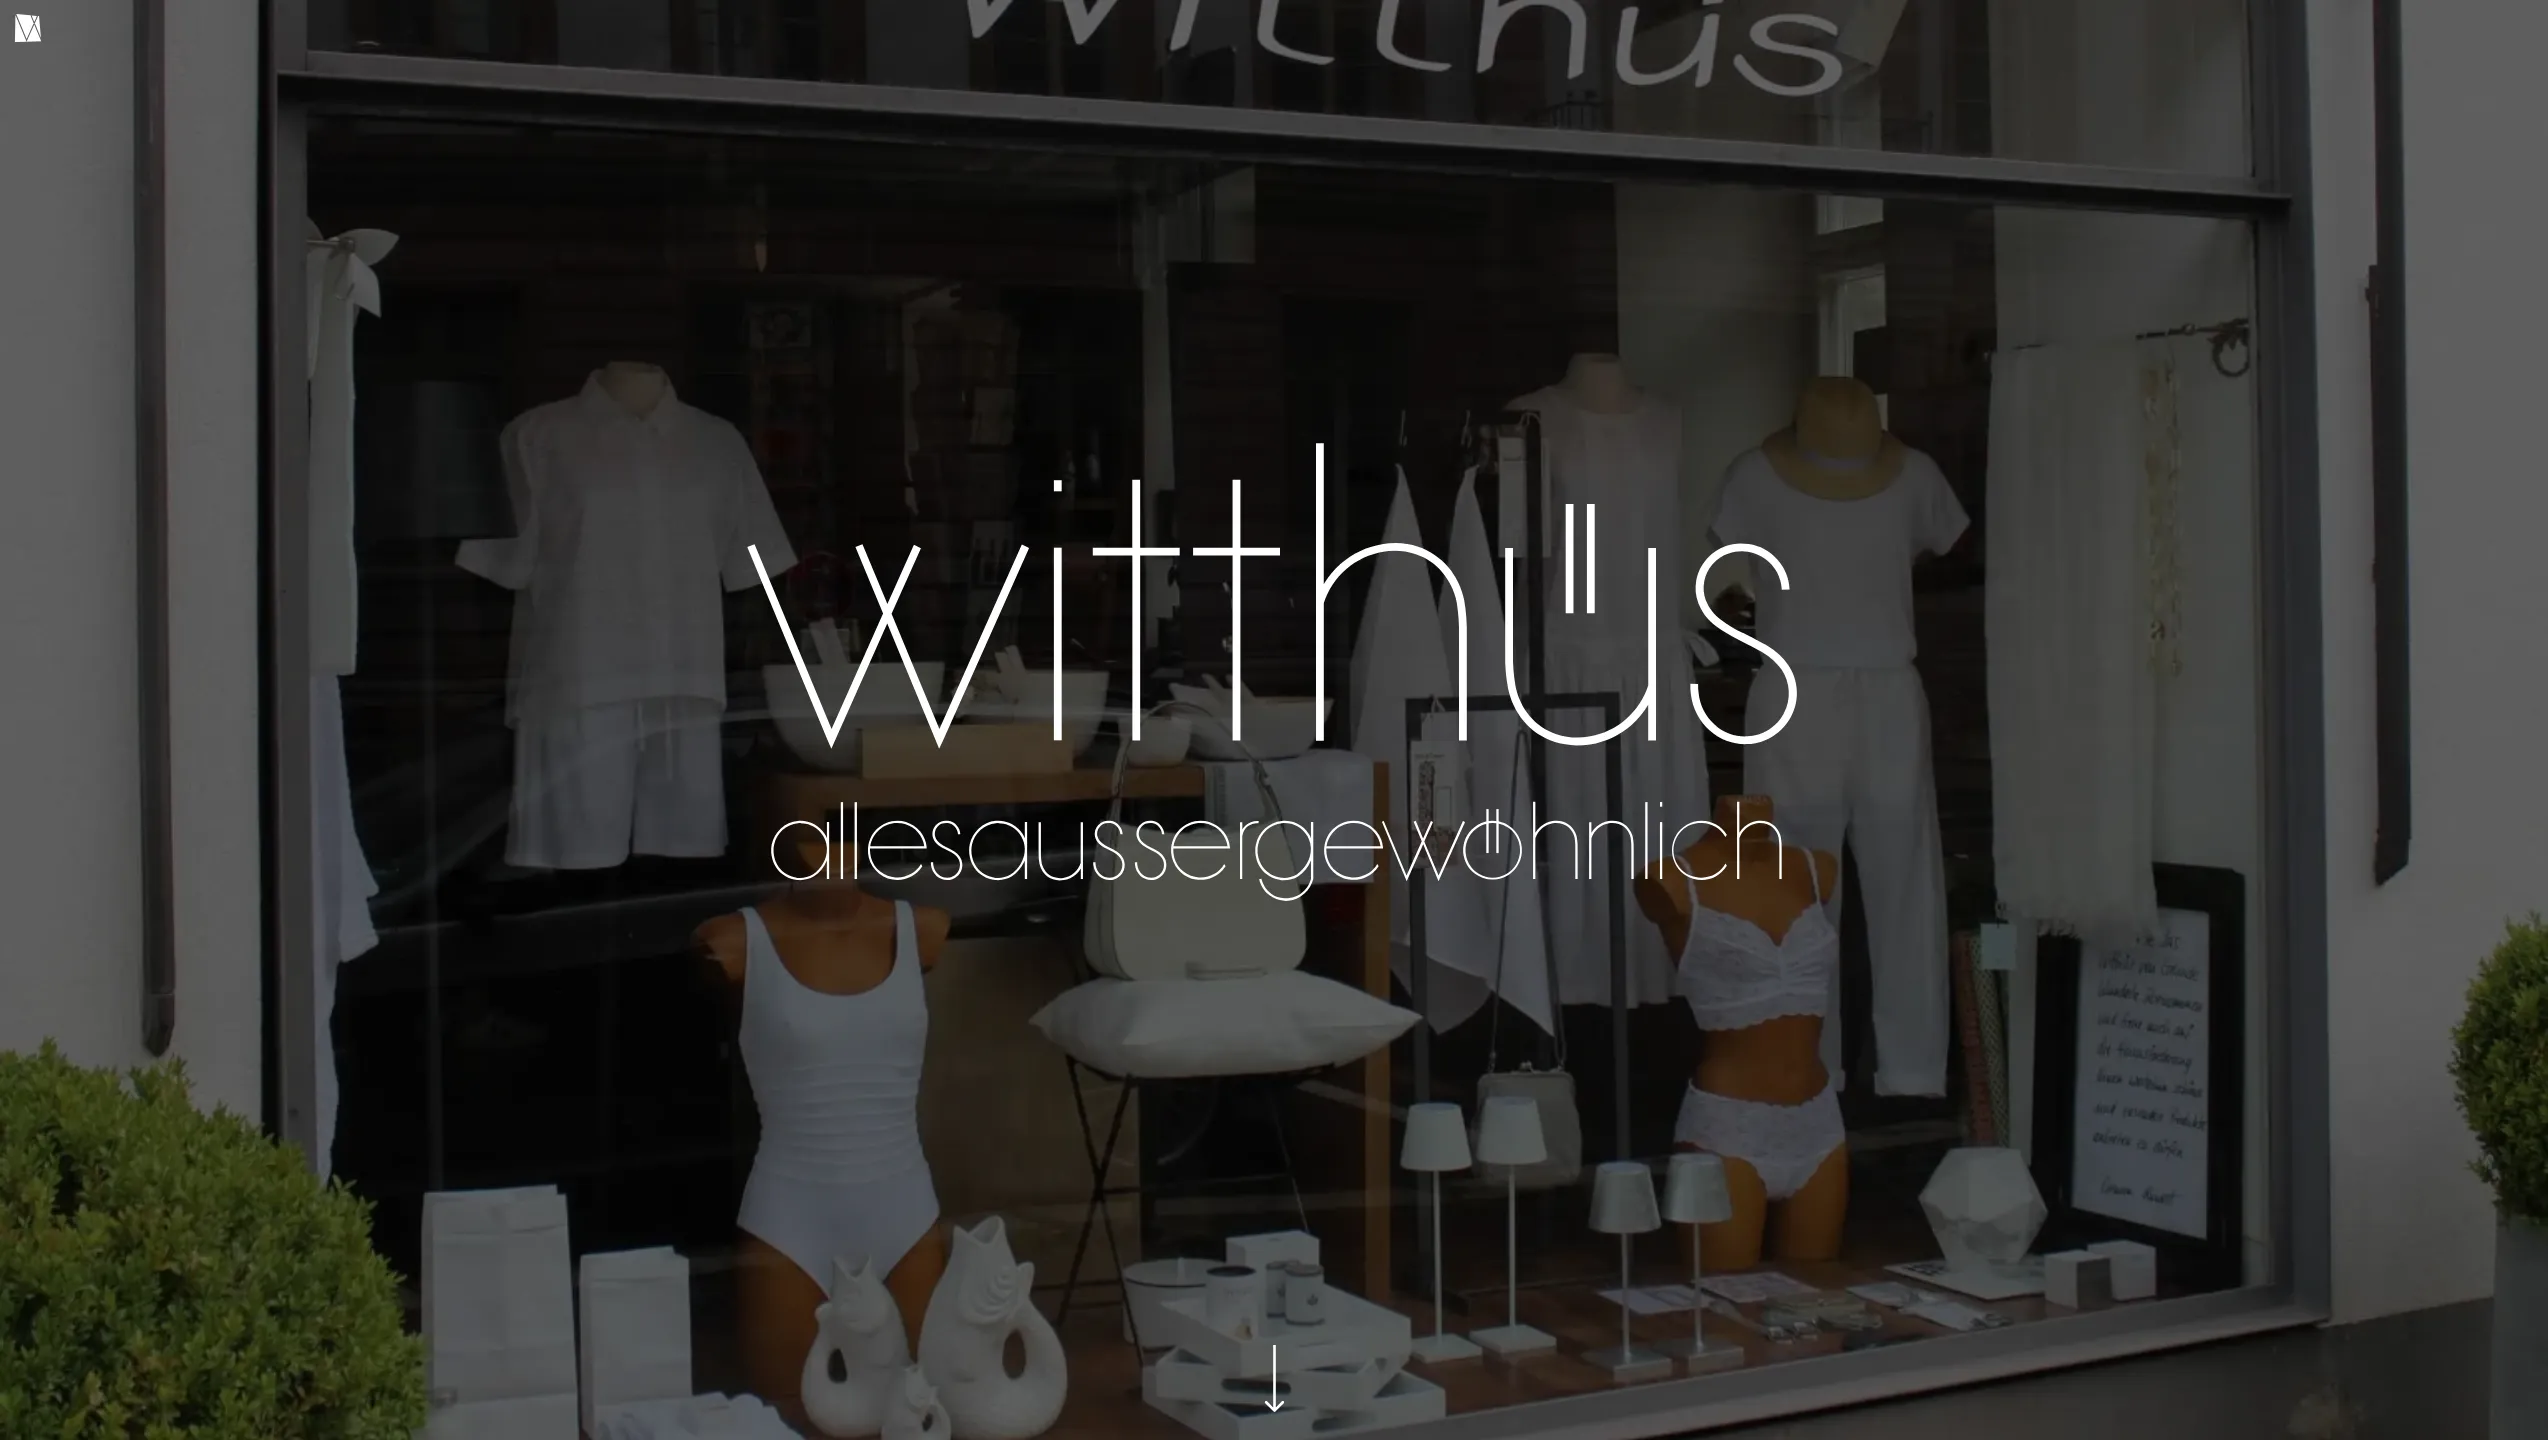
Final Result
The best thing about it is probably the new templating language, which makes the whole setup simpler while allowing enough flexibility to build what I wanted. The combination of lume and the underlying deno optimizations also made it much snappier and performant in development.
You can check the final result below or live, and the code is also available on github.